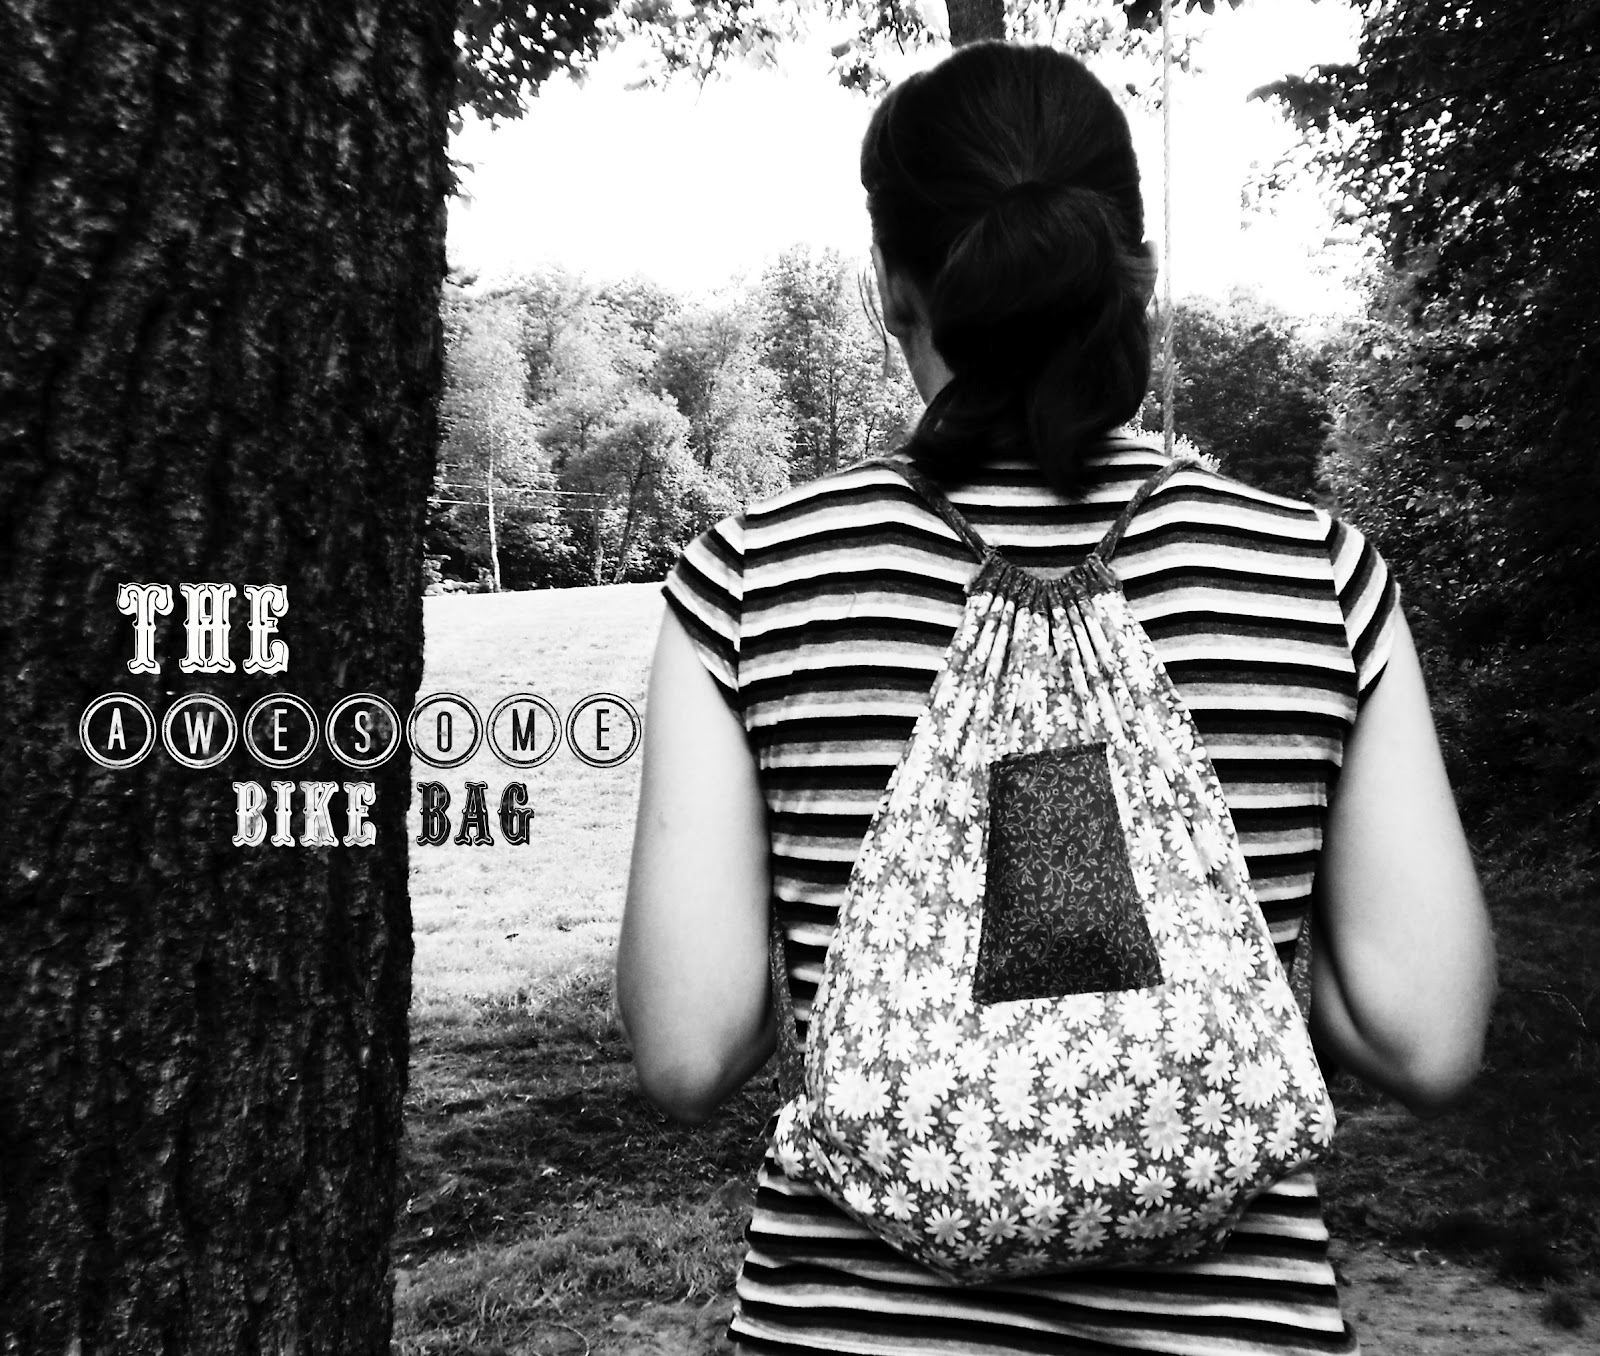
Such an original title, don't you agree?
And an awesome name for the bag tutorial.
So creative.
Just like the pattern for the bag.
;)
Right. The bag is very basic, but it gives me something pretty and sewing related to blog about. And maybe something to encourage you to sew your own.

You will need (estimated, based
- 1/2 yard of the main fabric
- 1/4 yard of the contrasting fabric
- Safety pin
- Scissors
- A seam ripper, just in case
And a sewing machine seems to help. ;-)
First, I cut a long rectangle and folded it in half. That way I didn't have to sew a bottom.
Then I cut the straps and the casing for the straps to go through, both of with were extremely long rectangles. There were only two straps, and each one was long enough for a whole side, the top, and some room to spare, so that I could actually use the bag as a drawstring backpack.

I started on the straps first.
I took each super long rectangle, folded and pinned it in half, and sewed the bottom and the side of each one.
I took each super long rectangle, folded and pinned it in half, and sewed the bottom and the side of each one.
Just to be clear, you sew each piece with the right sides (the brighter side of the fabric) facing each other, and you back-stitch every time you begin and end a seam.
(like this, leaving only one short end open)


After sewing those, I had to turn them right side out.
That is a slightly frustrating process, even when the pieces are plenty wide enough to do it with. If you want, I'll show you how I do sometime.
For now, I'll introduce you to my best buddies - Mr. Spoon and Lady Pencil.
I don't know how I would do things without them.

Basically, I pull the short end that was sewed shut over the end of the spoon, or pencil, depending on the length of the item I am working with, and then scrunch the rest of the fabric down and over until the sewn end pops free through the open end.
Like I said, I'd be happy to do a picture tutorial for ya.
Just ask. =)
Then we wind up with a coil of good stuff that needs to be ironed flat (and even, so don't let it stay scrunched up!)

Then I moved onto the bag itself.
I decided it needed a pocket, so I grabbed my fabric and cut a perfect sized rectangle (adding in seam allowances) and sewed it onto the front of the bag.
I "hemmed" the top of the pocket first.
Then I zig-zag stitched the remaining three sides.
Then I zig-zag stitched the remaining three sides.
Next, I sewed the bottom of the pocket onto the bag (I laid it upside down, so that when I flipped it up, no seam was showing). But I didn't just lay it there and sew it. I folded over the long sides first. You'll understand why with the next step. =)
Finally, I flipped the pocket up, and pinned the sides in place, finishing the folding of the sides as I went. Of course, after pinning, I sewed down each long side, remembering to back stitch.
 And then came the last major step.
The one I wasn't sure was going to turn out the way I thought.
And it didn't.
So I had to re-work it.
And I did.
Even now, I would go back and change a step.
That being said, my bag is done, and the pictures are taken.
So while I'll tell you what I should have done, you won't have any visual aide.
Hopefully you'll understand anyway.
And if you don't, please let me know. I can always come back and edit this post; plus, I will be making more of these bags for friends and family, so I can take pictures of things that you don't understand when I am doing those. This being my first tutorial and all, I'm afraid that I'm far from professional about it, and I am probably very confusing. I will need your help to get better! So thanks ahead of time for being such awesome blog follower peoples!♥!
Remember the first photo, the one that I showed my pieces cut out, and folded up altogether? Minus the "extra" pocket? Yeah, that picture. Ok, notice the rectangle pieces in the upper left? Well those are for the casing, so that this bag can be a drawstring bag.
FYI, the casing strips were each the same width as the top of the bag. (That's a bad idea - you will need to add about 1/2" to the width.) And double the height plus 3/4" of however wide the finished straps are. I do not have exact measurements. Sorry!
After zig-zagging/finishing the edges, do not do what I did.
See this?
This is my mistake.
Or one of them, anyway.
 I immediately started to sew the casing and bag together, right sides facing each other.
But I want you to rise above, and conquer!
Haha.
Ahem.
Well, uhm, anyway . . .
Take my advice, and turn over just a tiny bit of first short end, and sew it down. Repeat on the other end.
And don't skip it! I'll point out why in later photos.
NOW you may sew the casing and bag together, right sides facing each other.
Once you have done this to both the front, and the back, it's time to sew the sides!
Now this is a little tricky, because part of it, I don't have a picture of.
But I believe in you. You can do it!
1. Find the straps.
2. Congratulations! You've done the hardest part already - I can never find anything when I need to, lol.
3. Fold the bag inside out. You know, so that the right sides are facing each other. At the very bottom corner, you need to put one end of BOTH straps a little bit through the side. Think of it like a super duper short tail. Out the side of your new bike bag. Yeah, it seems a little weird to me, too. Don't worry, it won't stay for long. Now pin them in place. You should have a fair amount of straps dangling out one side, and a prickly line of pins on the other.
4. You have my permission to sew. But only up the beginning of the casing! I know this photo shows the stitching through the casing as well, but trust me, you don't want to do that. Or you'll be doing what I was doing - ripping out the seam and fixing it. Remember to back stitch!
5. Repeat on the other side. However, do NOT sew the straps into the other bottom corner. Instead, leave about an inch of open space there: enough so that you can play peek-a-boo with your finger, and wiggle it around. This is very important!
 This is how the casing should be...except for the fact that you should have finished edges. I did not.
 Keep your bag inside out.
Here's where we fold down the edge of the casing 1/4", and then fold it in half, and pin.
(Like so)
 Being careful to not sew the other side while you're at it, sew along the very bottom edge.
It should look like this.
 If you have done this to both sides, you may now turn the bag right-side out.
Grab a safety pin, run it through the other end of ONE of the straps (hopefully you picked the one closest to you/that made the most sense, so that the straps don't twist), and thread it through the side of the casing also closest too you, or the side that will make sure that the straps don't twist.
Do this with the other strap, with the other casing, being careful not to let the strap twist while inside the casing.
You should have two successfully 'threaded' straps, and one convenient little hole available...
See those raw edges of mine? Tsk tsk tsk.
 Find out the best way for you (this took me several finger pricks and even more frustrated sighs), but what you need to do now is pin those straps into that space that you left a few steps ago, and sew them in from the INSIDE. Yep, you have to turn it inside out again.
I think it's like extreme yoga for fabric and pins. And somehow these poor, innocent fingers get mangled in the process. Not very nice.
Oh, whatever you do, don't get blood on your bag. That would be bad.
But GUESS WHAT?!?
After that, you're done!!!

 Yay! I managed to finally complete my first tutorial!
It's far from perfect. But hopefully this will prove helpful when you make yours.
Oh, and about the Watermelon Splash set? I tried to list it today, but something went wrong, so I had to deactivate it. I'll try again tomorrow. =)
Love y'all!
~Paige

The one I wasn't sure was going to turn out the way I thought.
And it didn't.
So I had to re-work it.
And I did.
Even now, I would go back and change a step.
That being said, my bag is done, and the pictures are taken.
So while I'll tell you what I should have done, you won't have any visual aide.
Hopefully you'll understand anyway.
And if you don't, please let me know. I can always come back and edit this post; plus, I will be making more of these bags for friends and family, so I can take pictures of things that you don't understand when I am doing those. This being my first tutorial and all, I'm afraid that I'm far from professional about it, and I am probably very confusing. I will need your help to get better! So thanks ahead of time for being such awesome blog follower peoples!♥!
Remember the first photo, the one that I showed my pieces cut out, and folded up altogether? Minus the "extra" pocket? Yeah, that picture. Ok, notice the rectangle pieces in the upper left? Well those are for the casing, so that this bag can be a drawstring bag.
FYI, the casing strips were each the same width as the top of the bag. (That's a bad idea - you will need to add about 1/2" to the width.) And double the height plus 3/4" of however wide the finished straps are. I do not have exact measurements. Sorry!
After zig-zagging/finishing the edges, do not do what I did.
See this?
This is my mistake.
Or one of them, anyway.

But I want you to rise above, and conquer!
Haha.
Ahem.
Well, uhm, anyway . . .
Take my advice, and turn over just a tiny bit of first short end, and sew it down. Repeat on the other end.
And don't skip it! I'll point out why in later photos.
NOW you may sew the casing and bag together, right sides facing each other.
Once you have done this to both the front, and the back, it's time to sew the sides!
Now this is a little tricky, because part of it, I don't have a picture of.
But I believe in you. You can do it!
1. Find the straps.
2. Congratulations! You've done the hardest part already - I can never find anything when I need to, lol.
3. Fold the bag inside out. You know, so that the right sides are facing each other. At the very bottom corner, you need to put one end of BOTH straps a little bit through the side. Think of it like a super duper short tail. Out the side of your new bike bag. Yeah, it seems a little weird to me, too. Don't worry, it won't stay for long. Now pin them in place. You should have a fair amount of straps dangling out one side, and a prickly line of pins on the other.
4. You have my permission to sew. But only up the beginning of the casing! I know this photo shows the stitching through the casing as well, but trust me, you don't want to do that. Or you'll be doing what I was doing - ripping out the seam and fixing it. Remember to back stitch!
5. Repeat on the other side. However, do NOT sew the straps into the other bottom corner. Instead, leave about an inch of open space there: enough so that you can play peek-a-boo with your finger, and wiggle it around. This is very important!


Here's where we fold down the edge of the casing 1/4", and then fold it in half, and pin.
(Like so)

It should look like this.

Grab a safety pin, run it through the other end of ONE of the straps (hopefully you picked the one closest to you/that made the most sense, so that the straps don't twist), and thread it through the side of the casing also closest too you, or the side that will make sure that the straps don't twist.
Do this with the other strap, with the other casing, being careful not to let the strap twist while inside the casing.
You should have two successfully 'threaded' straps, and one convenient little hole available...
See those raw edges of mine? Tsk tsk tsk.

I think it's like extreme yoga for fabric and pins. And somehow these poor, innocent fingers get mangled in the process. Not very nice.
Oh, whatever you do, don't get blood on your bag. That would be bad.
But GUESS WHAT?!?
After that, you're done!!!


It's far from perfect. But hopefully this will prove helpful when you make yours.
Oh, and about the Watermelon Splash set? I tried to list it today, but something went wrong, so I had to deactivate it. I'll try again tomorrow. =)
Love y'all!
~Paige